Airfm: Deep Dive into Architecture
Following up on the introduction of Airfm, this post explores the underlying architecture that powers the software’s airfoil manipulation and analysis capabilities.
Core Architecture: Qt/QML and Python
Airfm is built on two powerful technologies: Qt/QML for the frontend, and Python for the backend. This combination allows for a clean separation of concerns, with each technology playing to its strengths.

- Qt/QML for the Frontend: Qt is a mature and powerful framework for creating cross-platform applications. QML, a declarative language, is used to design the user interface, allowing for fluid, animated, and visually appealing interfaces.
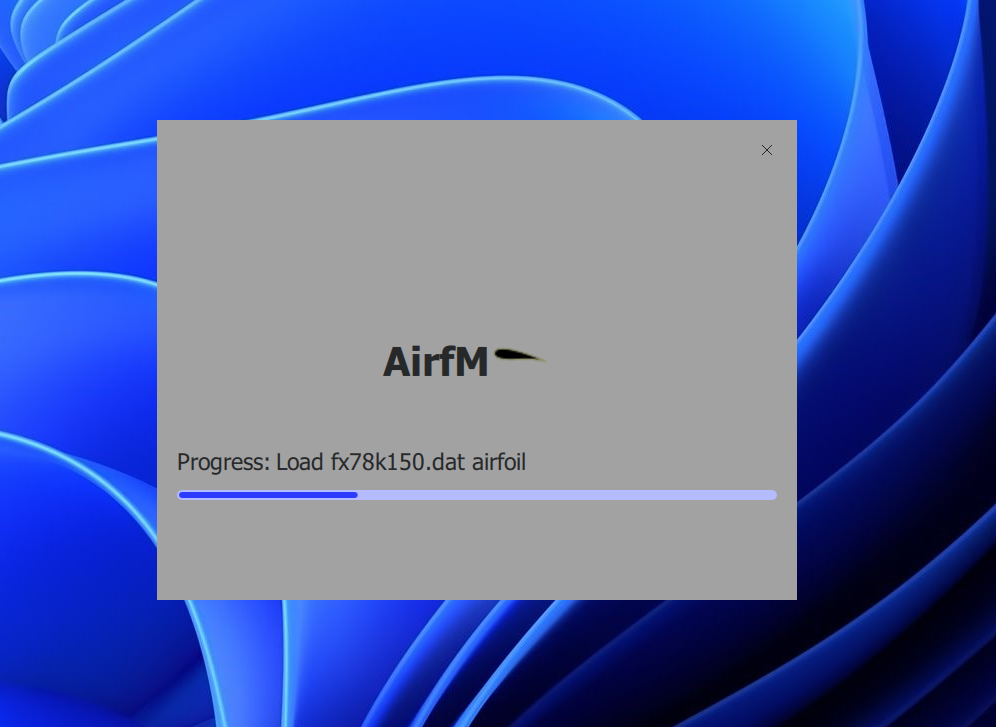
- Python for the Backend: Python serves as the “engine,” handling data processing, aerodynamic calculations (integrating tools like XFOIL), and the application’s core logic.
The Model-View-Delegate (MVD) Architecture
Airfm’s architecture follows the Model-View-Delegate (MVD) pattern, a variation of MVC that fits naturally with QML for creating data-driven applications.
- Model: Implemented in Python, models represent the application data (e.g., airfoils, wings, projects) and expose it to the QML frontend.
- View: Implemented in QML, views are responsible for displaying data to the user (e.g., list of airfoils, interactive plots).
- Delegate: Responsible for rendering each item in the model, such as a specific QML component for each airfoil in a list.
This architecture allows for a clean separation between the data (Model), the presentation (View), and the rendering of each item (Delegate). This makes the application easier to develop, test, and maintain.
Case Study: The Airfoil Model and View
The Airfoil_new class in models/airfoils.py demonstrates how Python classes inherit from QObject to communicate with the UI.
class Airfoil_new(QObject):
    dataChanged = Signal()

    def __init__(self, airfoil_path=None, parent=None):
        super().__init__(parent)
        self._data: list[list[float]] = []
        if airfoil_path:
            self.load(airfoil_path)

    @Slot(str)
    def load(self, filename:str):
        # ... loads airfoil data from a file ...
        self._update_qml_data()

    def _update_qml_data(self):
        X, Y = self.order_points()
        combined = np.vstack((X, Y)).T
        self._data = [[float(x), float(y)] for x, y in combined]
        self.dataChanged.emit()

    data = Property('QVariantList', fget=getData, notify=dataChanged)

    def getData(self):
        return self._data
This model is consumed in QML using a Repeater or ListView:
Repeater {
    model: airfoilListModel ? airfoilListModel : 0
    delegate: AirfoilInfoCard {
        Layout.fillWidth: true
        title: model.name
        subtitle: qsTr("Available in library")
        description: qsTr("Airfoil geometry ready for loading and transformation workflows.")
        fileUrl: model.path
    }
}
How Python and QML Communicate
Communication is handled via signals and slots:
- Signals: Emitted by Python objects when state changes (e.g., new data loaded).
- Slots: Functions called from QML to trigger backend logic.
This mechanism allows for a loosely coupled architecture where the backend and frontend interact seamlessly without direct knowledge of each other’s implementation details.
Benefits
- Speed: Optimized algorithms reduce computation time significantly.
- Accuracy: Reliable aerodynamic data for informed design decisions.
- Ease of Use: A modern UI that simplifies complex workflows.
For more information, check out the Airfm Project Page.